Assembling the Leather Straps consists of two basic steps: adjusting the right length and attaching it to your camera.
The Classic Strap:
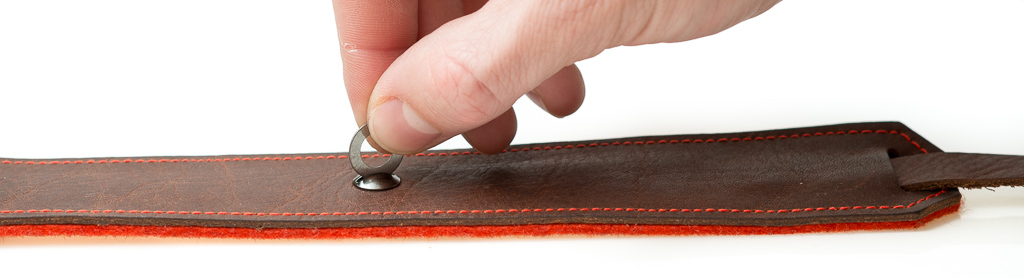
No special equipment needed. A fastening ring for screws is included in the package.
First Step:
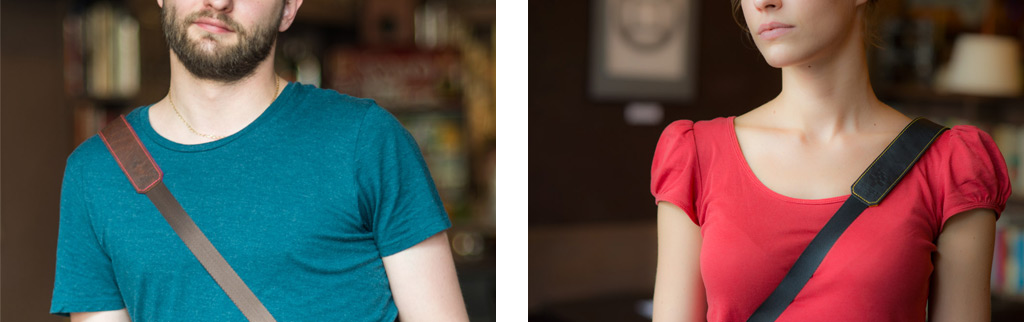
Find a position where you like to carry your camera and measure the strap length comfortable for your height.
Disassemble and remove two flat crews from the strap. Adjust length by shifting the inner straps in or out of the outer strap, choosing from four different positions. Put screws back and fix tight.
Second Step:
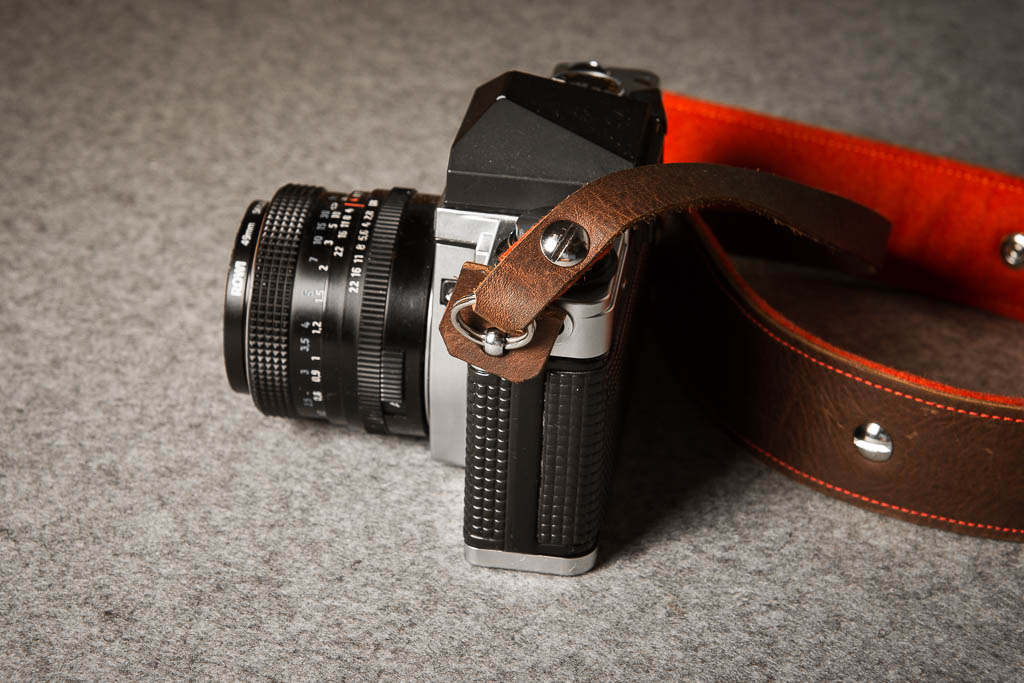
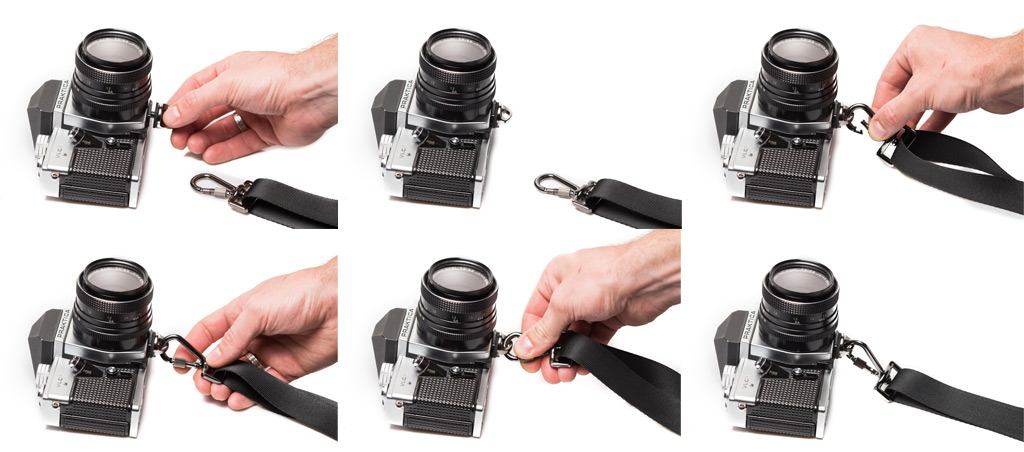
The strap fits most analog and digital cameras and can be attached both with or without the metal split rings.
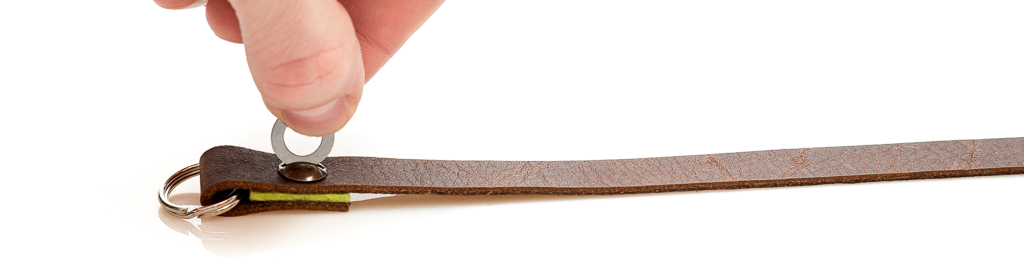
To use the strap with split rings (generally smaller cameras) just split the ring and attach directly to camera strap handles. There is a split ring protector included in every package. You can use it if your camera model needs an additional protection. To attach remove the screw, put the protector in, put screw back and tighten well.
To use the strap without split rings (generally larger cameras), disassemble screws holding the split ring, remove the split ring, attach the end-straps directly to the camera and re-assemble the ends with the screws. Always make sure that the screws are tightened well.
You are done and ready to enjoy your new gear.
The Sling Strap:
First Step:
Lefty or righty? Find a position where you like to carry your camera.
Release the length adjusting buckle and set the strap length comfortable for your height. Lock the buckle.
Second Step:
To use the strap, mount the screw part into your camera’s tripod hole. Join the metal hook with screw part attached to camera. Lock the metal hook with screw lock. Tighten the screw part into your camera one more time by turning the hook.
Wear the Sling strap over your shoulder and you are ready to enjoy your new gear.


